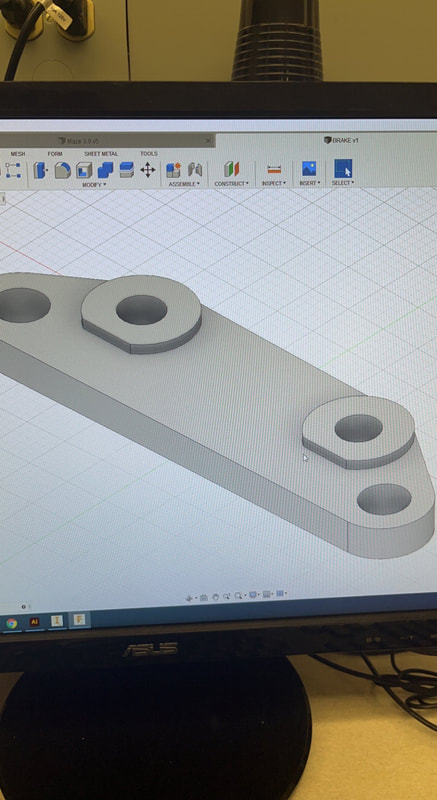
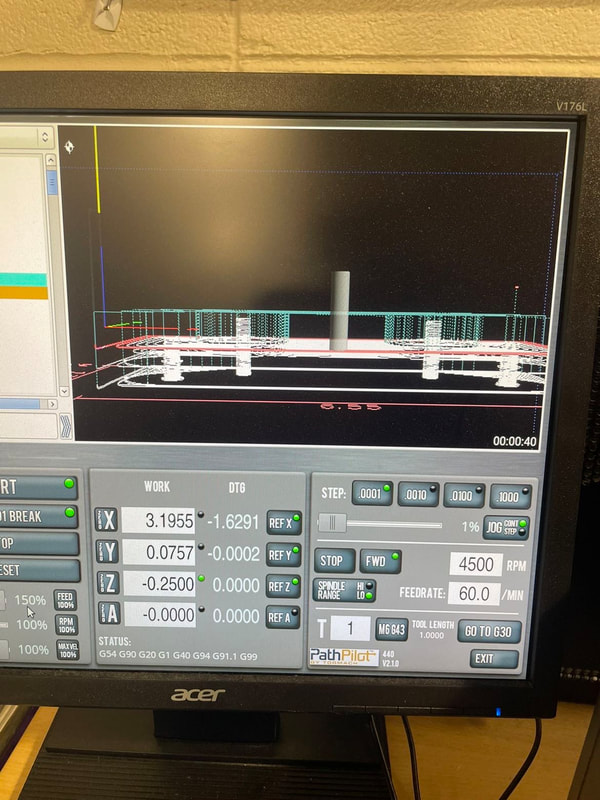
To start I designed the brake bracket using the handout in Inventor. After that I took the file and moved it to Fusion 360. In Fusion 360 I created a new setup where I chose the stock box point and moved it to the corner. Then I changed the stock size so it matched the brake bracket. Then I created a toolpath and a tool for the brake bracket. After I had the toolpath I simulated it cutting out. Then I put my file onto my drive and went to the mill and printed it out.
How I created my stock was I clicked the new setup button on the top. Then a side menu pops up with 3 different sections. The first section is about the orientation. Click stock box point and set it to fixed box. Then bring the x,y,z arrows to the back left corner. When the brake bracket is standing up it will be in the right place. After that's in the right place click on the second tab all about the stock. Change the stock to the dimensions of your brake bracket which is on the handout. Then make sure to change the offset to 0 otherwise the tool will cut through the wood part on the bottom. Then the final tab is about information that we don't need to change. Then after all of that click on the top where it says create new tool path. This is where we are going to make our tool and tell our tool what to do. First follow the directions on the handout on how to make a tool. The handout has the dimensions for the tool. Then after that follow the directions on how to make the toolpath for the brake bracket. Once you have all of that done the final step is to take it to the router.
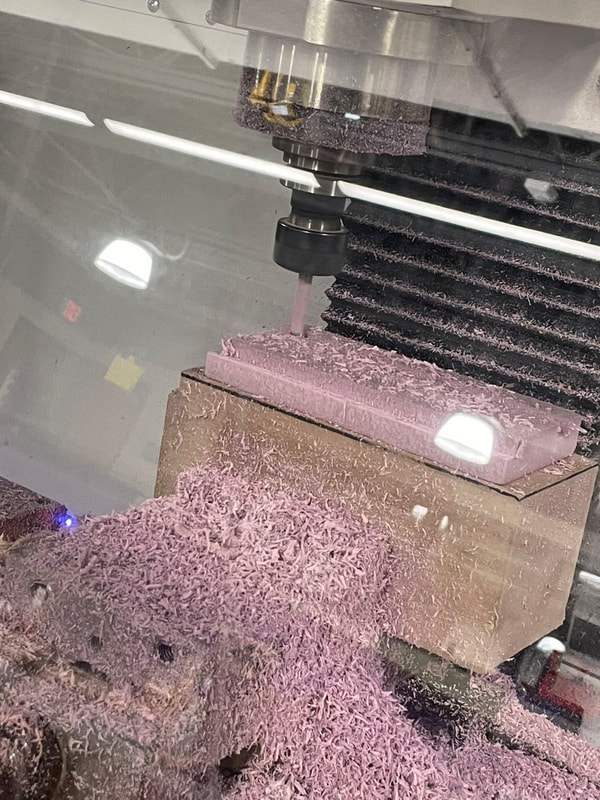
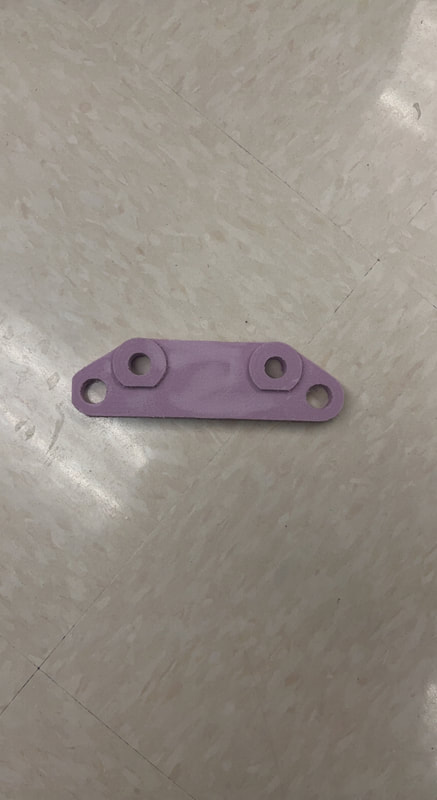
Here is my final brake bracket